CentOS安装Python版Shadowsocks
首先安装Python,这里安装的是Python 2.7.13
官网找到源码包地址,下载
wget https://www.python.org/ftp/python/2.7.13/Python-2.7.13.tar.xz解压>
xz -d Python-2.7.13.tar.xz如果提示“-bash: xz: command not found”,这是没有安装xz,使用yum install xz -y进行安装(没有报错的跳过此步骤)
得到tar压缩包,再次解压
tar xvf Python-2.7.13.tar进入解压后的源码包目录
cd Python-2.7.13编译安装
./configure如果./configure提示“configure: error: no acceptable C compiler found in $PATH”,那就yum install gcc -y安装gcc
然后
make && make install如果提示“-bash: make: command not found”,那就使用yum install make -y先安装make
至此,Python 2.7.13安装完成
下载组件以及最新的git源码包并安装
yum install gcc automake autoconf libtool make build-essential autoconf libtool gcc -y
yum install curl curl-devel zlib-devel openssl-devel perl perl-devel cpio expat-devel gettext-devel -y
wget http://www.codemonkey.org.uk/projects/git-snapshots/git/git-latest.tar.xz
xz -d git-latest.tar.xz
tar xvf git-latest.tar
cd git-2014-08-23  (目录名不一定相同)
autoconf
./configure
make && make install安装完成后,执行git --version如果出现版本号说明安装成功
下载Shadowsocks并安装
git clone git://github.com/mengskysama/shadowsocks-rm.git
cd shadowsocks-rm
python setup.py install
如果提示
Traceback (most recent call last):
  File “setup.py”, line 2, in <module>
    from setuptools import setup
ImportError: No module named setuptools
这是没有setuptools,先安装setuptools
下载setuptools,去这里找,就下载zip版本的吧
https://pypi.python.org/pypi/setuptools
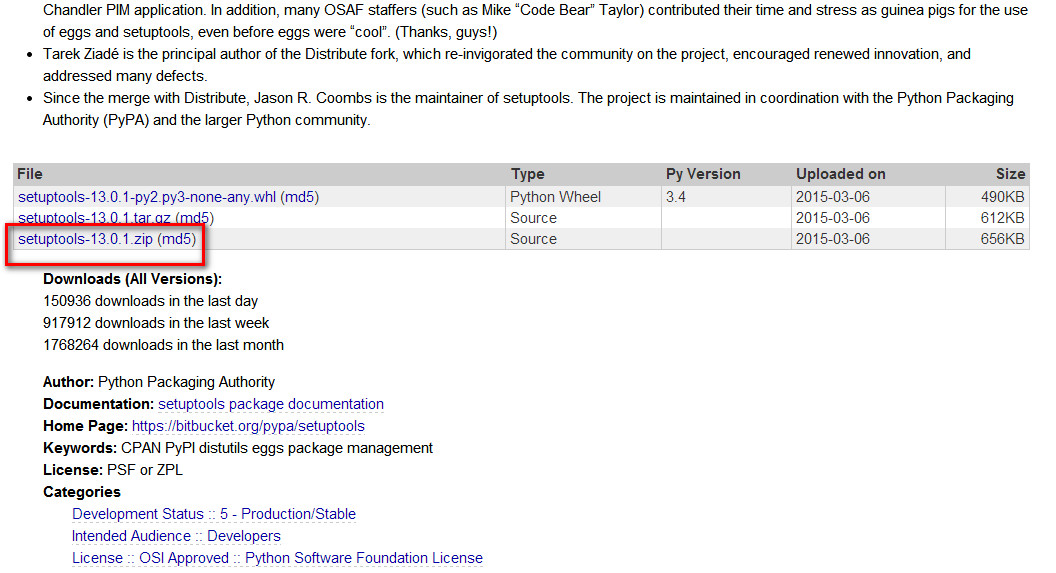
下载完该上传的上传到服务器,上传完了解压
unzip setuptools-13.0.1.zip进入setuptools目录
cd setuptools-13.0.1安装setuptools
python setup.py install如果安装setuptools报错,提示“RuntimeError: Compression requires the (missing) zlib module”
那就执行yum install zlib zlib-devel -y安装完了zlib再回到上面的步骤重新编译安装下Python,不需要删除重新安装
重新编译安装Python后再安装setuptools
安装完了setuptools,现在回过去安装Shadowsocks
进入到Shadowsocks目录并安装
python setup.py install安装成功应该是这样的
Installed /usr/local/lib/python2.7/site-packages/shadowsocks-2.6.9-py2.7.egg
Processing dependencies for shadowsocks==2.6.9
Finished processing dependencies for shadowsocks==2.6.9
然后直接执行ssserver应该是提示各个参数的使用方法的
usage: ssserver [OPTION]…
A fast tunnel proxy that helps you bypass firewalls.
You can supply configurations via either config file or command line arguments.
Proxy options:
  -c CONFIG              path to config file
  -s SERVER_ADDR         server address, default: 0.0.0.0
  -p SERVER_PORT         server port, default: 8388
  -k PASSWORD            password
  -m METHOD              encryption method, default: aes-256-cfb
  -t TIMEOUT             timeout in seconds, default: 300
  —fast-open            use TCP_FASTOPEN, requires Linux 3.7+
  —workers WORKERS      number of workers, available on Unix/Linux
  —forbidden-ip IPLIST  comma seperated IP list forbidden to connect
General options:
  -h, —help             show this help message and exit
  -d start/stop/restart  daemon mode
  —pid-file PID_FILE    pid file for daemon mode
  —log-file LOG_FILE    log file for daemon mode
  —user USER            username to run as
  -v, -vv                verbose mode
  -q, -qq                quiet mode, only show warnings/errors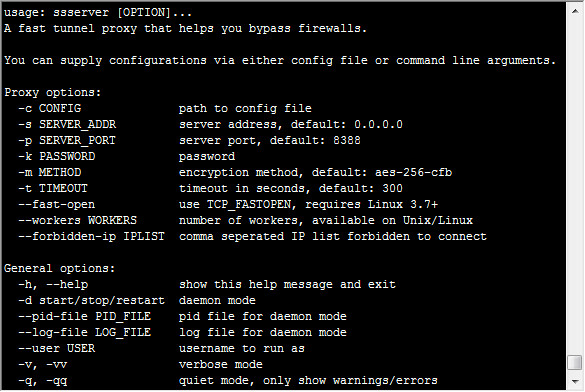
参数使用方法虽是英文的,但是不难理解,这里就不多说,就说下简单的运行方法
来看个例子
ssserver -p 8388 -k 1234567890 -m rc4-md5这应该是比较简单的了,开放端口8388,密码1234567890,加密方式rc4-md5。如下图,表示正常运行

注意事项
- Shadowsocks目前就推荐两种加密方式,一种是默认的aes-256-cfb,另一种是rc4-md5,据作者说rc4-md5用在路由器之类的设备上面效率高
- 运行参数里面的--fastopen一般不开,Linux内核3.6以上版本才能支持
- Python版本的Shadowsocks在你按下Ctrl+C后会停止运行,而不是像libev版本那样后台运行。不过可以用screen命令来后台运行
本文为原创,如有不对之处还请指正